Wednesday, April 18, 2012
Tuesday, April 17, 2012
Ammonia Nitrogen Test
High Range
Test N Tube
0-50 mg/L NH3-N
Salicylate Method
1. Press : PRGM
2. Press : 67 ENTER
The display will show mg/L, NH3-N & Zero icon.
3. Insert the COD/TNT Adapter into the cell holder by rotating the adapter until it drops into place. Then push down to fully insert it.
4. Remove the caps from 2Am Ver Diluent Reagent High Range Vials. Add 0.1 ml of sample to one vial (the sample). Add 0.1 ml of DI water to the other (BLANK).
5. Add the contents of 1 Ammonia Salicylate Reagent Powder Pillow for 5 ml sample to each vial.
6. Add the contents of 1 Ammonia Cyanurate Reagent Powder Pillow for 5 ml sample to each vial.
7. Cap the vials tightly and snake thoroughly to dissolve the powder.
Note : A green color will develop if ammonia is present.
8. Press : TIMER ENTER
A 20 minute reaction period will begin.
9. Clean the outside of the vial with a towel . After the timer beeps, place the blank into the vial adapter. Tightly cover the instrument cap.
10. Press : ZERO
11. Place the prepared sample in the adaptor.
Push Straight down on the top of the vial until it seats solidly into the adapter
12. Tightly cover the vial with the instrument cap.
13. Press : READ
Storage of Samples
Most reliable results are obtained on fresh samples.
If samples are to be analyzed within 24 h of collection, refrigerate unacidified at 4°C.
For preservation for up to 28 d, freeze at − 20°C unacidified, or preserve samples by a cidifying to pH <2 and storing at 4°C.
CAUTION:
If acid preservation is used, neutralize samples with NaOH or KOH immediately before making the determination.
Although acidification is suitable for certain types of samples, it produces interferences when e xchangeable ammonium is present in unfiltered solids.
Thursday, April 12, 2012
COD TEST
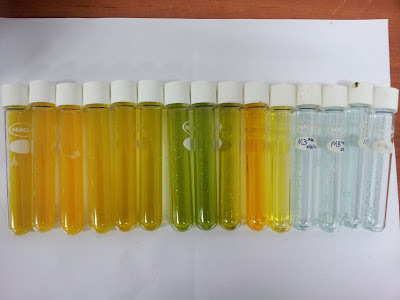
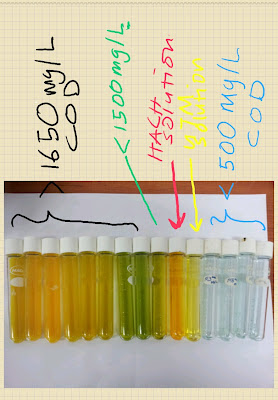 OXYGEN DEMAND, CHEMICAL For water, wastewater and seawater
Reactor Digestion Method* USEPA approved for reporting wastewater analysis**
dIGESTION
1. Homogenize 500 mL of sample for 2 minutes in a blender.
Note: For the 0-15,000 mg/L range, homogenize 100 mL of sample.
Pour the blended sample into a 250-mL beaker.
Stir with a magnetic stirrer while withdrawing a sample aliquot.
This improves accuracy and reproducibility.
2. Turn on the DRB200 Reactor. Preheat to 150 °C.
Note: See DRB 200 user manual for selecting pre-programmed temperature applications.
3. Remove the cap of a COD Digestion Reagent Vial.
4. Hold the vial at a 45-degree angle.
Pipet 2.00 mL (0.2 mL for the 0 to 15,000 mg/L range) of sample into the vial.
5. Replace the vial cap tightly.
Rinse the outside of the COD vial with deionized water and wipe the vial clean with a paper towel.
6. Hold the vial by the cap and over a sink.
Invert gently several times to mix the contents.
Place the vial in the preheated DRB200 Reactor.
Note: The vial will become very hot during mixing.
7. Prepare a blank by repeating Steps 3 to 6, substituting 2.00 mL (0.2 mL for the 0 to 15,000 mg/L range) deionized water for the sample.
Note: Be sure the pipet is clean.
8. Heat the vials for 2 hours.
Note: Many samples are digested completely in less than two hours.
If desired, measure the concentration (while still hot) at 15 minute intervals until the reading remains unchanged.
Cool vials to room temperature for final measurement.
9. Turn the reactor off.
Wait about 20 minutes for the vials to cool to 120 °C or less.
10. Invert each vial several times while still warm.
Place the vials into a rack.
Wait until the vials have cooled to room temperature.
Note: If a pure green color appears in the reacted sample, measure the COD and, if necessary, repeat the test with a diluted sample.
11. Use one of the following analytical techniques to measure the COD:
•Colorimetric method, 0-150 mg/L COD
•Colorimetric method, 0-1,500 mg/L COD
•Colorimetric method, 0-15,000 mg/L COD
Colorimetric Determination, 0 to 150 mg/L COD
1. Enter the stored program number for chemical oxygen demand (COD), low range.
Press: PRGM
The display will show:PRGM?
2. Press: 16 ENTER
The display will show mg/L, COD and the ZERO icon.
Note: For alternate form (O2), press the CONC key.
3. Insert the COD/TNT Adapter into the cell holder by rotating the adapter until it drops into place.
Then push down to fully insert it.
Note: For increased performance, a diffuser band covers the light path holes on the adapter. Do not remove the diffuser band.
4. Clean the outside of the blank with a towel.
Note: Wiping with a damp towel, followed by a dry one, will remove fingerprints or other marks.
5. Place the blank in the adapter.
Push straight down on the top of the vial until it seats solidly into the adapter.
Note: Do not move the vial from side to side as this can cause errors.
6. Tightly cover the vial with the instrument cap.
Note: The blank is stable when stored in the dark.
See Blanks for Colorimetric Determination following these procedures.
7. Press: ZERO
The cursor will move to the right, then the display will show:0 mg/L COD
8. Clean the outside of the sample vial with a towel.
9. Place the sample vial in the adapter.
Push straight down on the top of the vial until it seats solidly into the adapter.
10. Tightly cover the vial with the instrument cap.
11. Press: READ
The cursor will move to the right, then the result in mg/L COD will be displayed.
Colorimetric Determination, 0 to 1,500 and 0 to 15,000 mg/L COD
1. Enter the stored program number for chemical oxygen demand (COD), low range.
Press: PRGM
The display will show:PRGM?
2. Press: 17 ENTER
The display will show mg/L, COD and the ZERO icon.
Note: For alternate form (O2), press the CONC key.
3. Insert the COD/TNT Adapter into the cell holder by rotating the adapter until it drops into place.
Then push down to fully insert it.
Note: For increased performance, a diffuser band covers the light path holes on the adapter. Do not remove the diffuser band.
4. Clean the outside of the blank with a towel.
Note: Wiping with a damp towel, followed by a dry one, will remove fingerprints or other marks.
5. Place the blank in the adapter.
Push straight down on the top of the vial until it seats solidly into the adapter.
Note: Do not move the vial from side to side as this can cause errors.
6. Tightly cover the vial with the instrument cap.
Note: The blank is stable when stored in the dark.
See Blanks for Colorimetric Determination following these procedures.
7. Press: ZERO
The cursor will move to the right, then the display will show:0 mg/L COD
8. Clean the outside of the sample vial with a towel.
9. Place the sample vial in the adapter.
Push straight down on the top of the vial until it seats solidly into the adapter.
10. Tightly cover the vial with the instrument cap.
11. Press: READ
The cursor will move to the right, then the result in mg/L COD will be displayed.
Note: When using High Range Plus COD Digestion Reagent Vials, multiply the reading by 10.
Note: For most accurate results with samples near 1,500 or 15,000 mg/L COD, repeat the analysis with a diluted sample.
Sampling and Storage
Collect samples in glass bottles.
Use plastic bottles only if they are known to be free of organic contamination.
Test biologically active samples as soon as possible.
Homogenize samples containing solids to assure representative samples.
Samples treated with sulfuric acid to a pH of less than 2 (about 2 mL per liter) and refrigerated at 4 °C can be stored up to 28 days.
Correct results for volume additions; see Correction for Volume Additions (Section 1) for more information.
Accuracy Check
Standard Solution Method
Check the accuracy of the 0 to 150 mg/L range with a 100 mg/L standard.
Prepare by dissolving 85 mg of dried (120 °C, overnight) potassium acid phthalate (KHP) in 1 liter of deionized water.
Use 2.0 mL as the sample volume.
The expected result will be 100 mg/L COD.
As an alternative, dilute 10 mL of 1000-mg/L COD Standard Solution to 100 mL to make a 100-mg/L standard.
Check the accuracy of the 0 to 1,500 mg/L range by using either a 300 mg/L or 1000 mg/L COD Standard Solution.
Alternatively, prepare a 500 mg/L standard by dissolving 425 mg of dried (120 °C, overnight) KHP.
Dilute to 1 liter with deionized water.
Use 2.0 mL of one of these solutions as the sample volume.
Check the accuracy of the 0 to 15,000 mg/L range by using a 10,000 mg/L COD standard solution.
Prepare the 10,000 mg/L solution by dissolving 8.500 g of dried (120 °C, overnight


SUSPENDED SOLID TEST
For water and wastewater
Photometric Method* (Also called Nonfilterable Residue)
1. Enter the stored program number for suspended solids.
Press: PRGM
The display will show:
PRGM ?
2. Press: 94 ENTER
The display will show mg/L, SuSld and the ZERO icon.
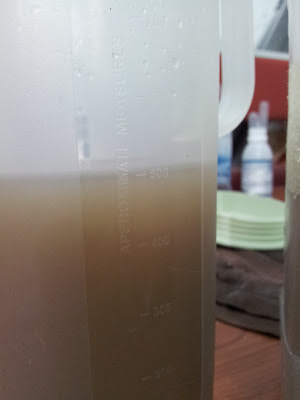
3. Blend 500 mL of sample in a blender at high speed for exactly 2 minutes.
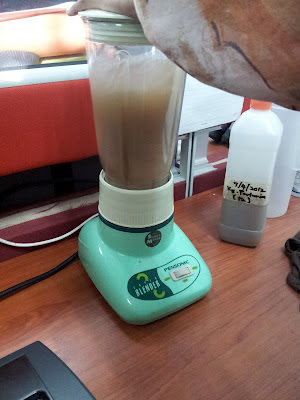
4. Pour the blended sample into a 600-mL beaker.
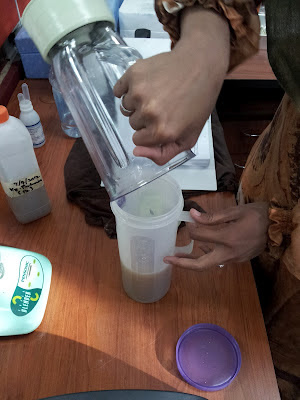
5. Fill a sample cell with 25 mL of tap water or deionized water (the blank).
Note: Remove gas bubbles in the water by swirling or tapping the bottom of the cell on a table.
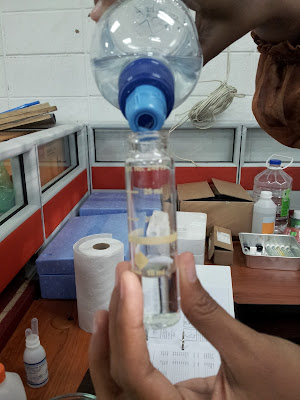
6. Place the blank in the cell holder. Tightly cover the sample cell with the instrument cap.
7. Press: ZERO
The cursor will move to the right, then the display will show:
0 mg/L SuSld
8. Stir the sample thoroughly and immediately pour 25 mL of the blended sample into a sample cell (the prepared sample).
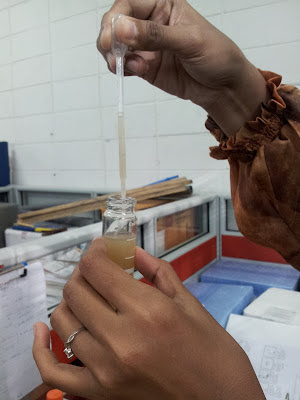
9. Swirl the prepared sample cell to remove any gas bubbles and uniformly suspend any residue.
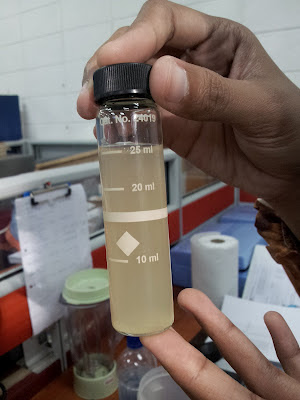
10. Place the prepared sample into the cell holder.
Tightly cover the sample cell with the instrument cap.
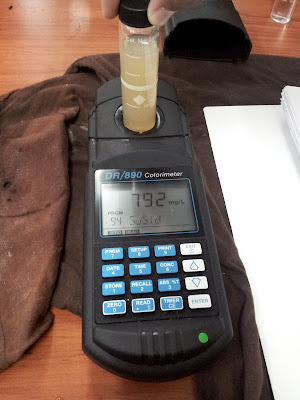
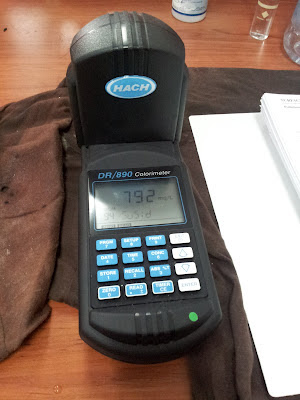
11. Press: READ
The cursor will move to the right, then the result in mg/L suspended solids will be displayed.
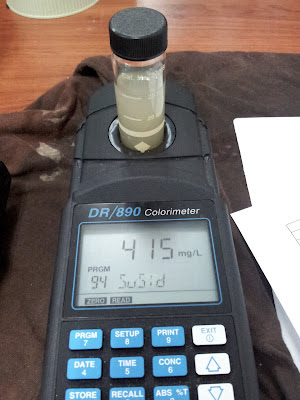
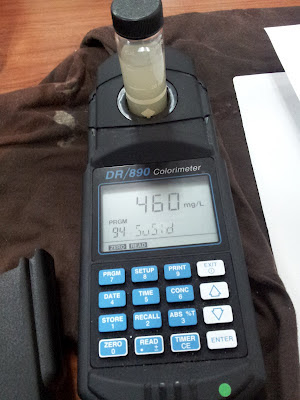
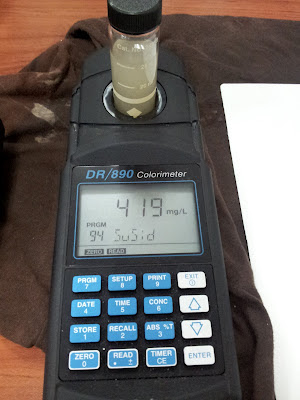
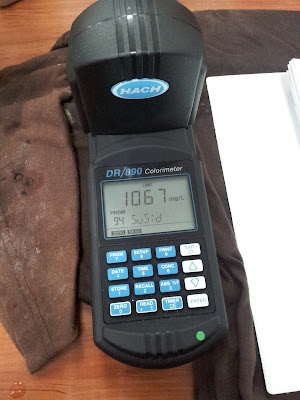
Only available for 0-750 mg/L concentration of suspended solid.
Sample Dilution Techniques
10 mL and 25 mL are the volumes used for most colorimetric tests.
However, in some tests, the color developed in the sample may be too intense to be measured.
Unexpected colors may develop in other tests.
In both cases, dilute the sample to determine if interfering substances are present.
To dilute the sample easily, pipet the chosen sample portion into a clean graduated cylinder (or volumetric flask for more accurate work).
Fill the cylinder (or flask) to the desired volume with deionized water.
Mix well.
Use the diluted sample when running the test.
The concentration of the sample is equal to the diluted sample reading multiplied by the multiplication factor.
More accurate dilutions can be done with a pipet and a 100-mL volumetric flask.
Pipet the sample and dilute to volume with deionized water.
Swirl to mix.
Sampling and Storage
> Collect samples in clean plastic or glass bottles.
> Analyze samples as soon as possible after collection.
> The sample may be stored seven days by cooling to 4 °C (39 °F).
Method Performance
Precision
In a single laboratory, using a standard solution of 847.4 mg/L Suspended Solids with the instrument, a single operator obtained a standard deviation of ±18.2 mg/L Suspended Solids.
For more information on Hach’s precision statement, see Section 1.
Estimated Detection Limit
The estimated detection limit for program 94 is 22.1 mg/L Suspended Solids.
For more information on