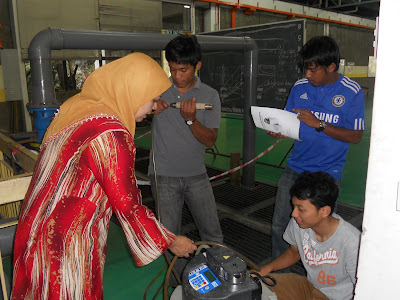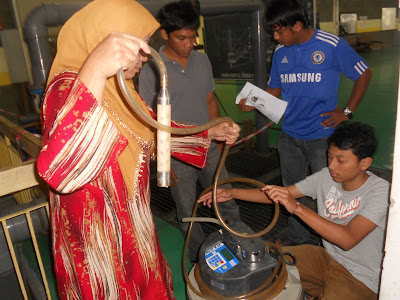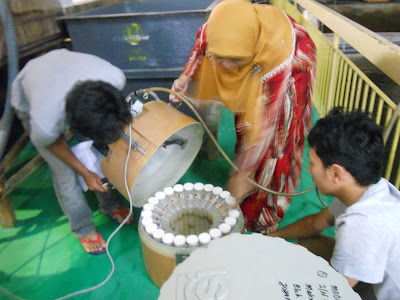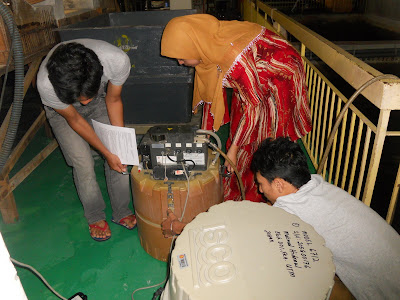


Thank You ALLAH kerana memberi ilmu ini kepada kami.
Terima kasih kepada Juruteknik Kanan Jabatan Hidraul & Hidrologi Fakulti Kejuruteraan Awam UTM Johor Bahru, Pn.Rosmawati atas tunjuk ajar dan panduan penggunaan ISCO Portable Samplers.
SYSTEM SETUP:
1) Place sampler on a level surface close to the sample source
2) Attach the suction line
3) Attach external power source (12V battery)
4) Attach the Liquid Level Sample Actuator
5) Install sample bottles
EXTENDED PROGRAMMING:
1) Turn the sampler on by pressing the On/Off key.
2) The option PROGRAM will be blinking. Press Enter
3) The Program Name screen appears, and the option NO will be blinking. If necessary, change the program name. If not, press Enter.
4) The Site Description screen appears, and the option NO will be blinking. If necessary, change the site description name. If not, press Enter.
5) Select units for length of the suction line. Press Enter.
6) Select a number for rain storage data interval. The selection made here is irrelevant when not collecting rain data. Press Enter.
7) Select the number of bottles. Use the arrow keys until 24 blinks (if using 24 bottles) and press Enter.
8) Type in the bottle volume using number on keypad. Type 370, to ensure full bottles and press Enter.
9) Type in the length of the suction line (not including the strainer) and press Enter.
10) Auto Suction Head will be blinking. Press Enter. Suction head is the vertical distance between the surface of the liquid source and the sampler's pump.
11) Select the number of rinse cycles. Type in 0 or 1 to converse the battery. Press Enter. This is the number of times the suction line is rinsed before drawing a sample.
12) Select the number of times the machine should retry sampling if it fails to deliver the entire sample volume. Twice is a good choice, but this is flexible. Press Enter.
13) Select One-Part Program to fill all bottles with one set of pacing, distribution, and enable settings. Press Enter.
14) Select Uniform Time Paced to sample at regular time intervals. Press Enter.
15) Select the time between sampling events.This is stored in hours first, then minutes, pressing Enter after each is chosen.
16) Type in the number of bottles per sampling event. Press Enter.
17) This next screen says "Change sets every _ samples". You will type in 1 then press Enter. This tells the machine that each bottle is a single sample (not composite) and will be filled completely (to volume entered below)
18) Type in the sample volume. Press Enter. This should be 370 mL, so that each bottle will be filled completely.
19) Select None, for what the sampler should enable on (rain vs none). Press Enter. Rain is selected only if a rain gage is attached. When using the actuator, none is the appropriate choice.
20) Select No Delay to Start. Press Enter.
21) Run Program Continuously. Select Yes. Press Enter.
22) Programming is complete. Select Yes to begin sampling immediately. Press Enter. Select No if you will start the program sometime later. Selecting No and pressing Enter returns you to the initial programming screen.
No comments:
Post a Comment